5,90 €
Impuestos incluidos Entrega en 24h.

Pantalla LCD Samsung i900 Omnia

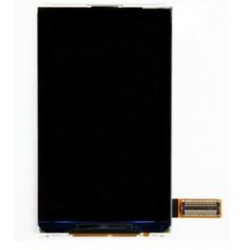
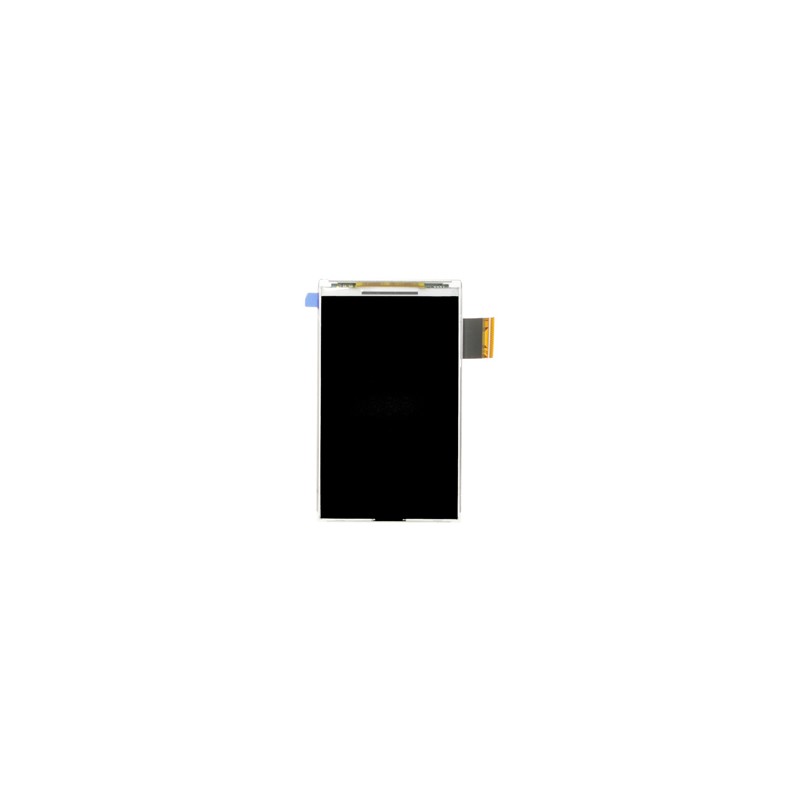
Pantalla LCD Original Samsung, compatible con los Samsung: i900 Omnia

Cantidad
Envío inmediato

  • 100% Pago Seguro. Paga contrareembolso o por servidor seguro. 100% Pago Seguro. Paga contrareembolso o por servidor seguro.
  • Súper Entrega. Recibirás tu pedido en menos de 24 hrs. Súper Entrega. Recibirás tu pedido en menos de 24 hrs.
  • Devolución Fácil. Si cambias opinión te lo recogemos sin problemas. Devolución Fácil. Si cambias opinión te lo recogemos sin problemas.
  • Envío Gratuito. A partir de 100 € de compra la entrega es gratis. Envío Gratuito. A partir de 100 € de compra la entrega es gratis.
  • Garantía Total. Con la garantía del fabricante para todos sus productos. Garantía Total. Con la garantía del fabricante para todos sus productos.

Descripción Pantalla LCD Samsung i900 Omnia


  • Remove your back cover, battery, sim and memory card. Remove the four screws you can see.

Samsung Omnia i900 disassembly stage 1

  • Use a thin plastic tool, such as a credit card, to separate the front and back cover. Slide your tool all the way around the edge of the join to release them.

Samsung Omnia i900 disassembly stage 2

  • The back cover should now be removed, like below. You now need to detach three connectors (circled). The small gold connector on the left with the thin wire leading from it needs carefully levering off. The connector far right has a black hinge which needs flicking up and the other connector attaches like a plug and socket so simply lift this up to unplug it. Now unscrew the two screws you see.

Samsung Omnia i900 disassembly stage 3

  • The picture below shows the phone after the connectors have been released and the two screws have been removed.

Samsung Omnia i900 disassembly stage 4

  • Flip the circuit board over. There are two more connectors, circled, which need to be released. Again, one has a hinge and the other attaches like a plug and socket.

Samsung Omnia i900 disassembly stage 5

  • You should now have the circuit board removed, like below.

Samsung Omnia i900 disassembly stage 6

  • Peel back the sticker, as shown below.

Samsung Omnia i900 disassembly stage 7

  • Your phone should now look like below.

Samsung Omnia i900 disassembly stage 8

  • Lift the camera assembly from right to left. Be careful not to damage the thin wire on the left when you remove it.

Samsung Omnia i900 disassembly stage 9

  • Your phone should now look like below. Now remove the two screws you can see.

Samsung Omnia i900 disassembly stage 10

  • The front bezel will now be loose. Lift it away starting at the bottom of the phone.

Samsung Omnia i900 disassembly stage 11

  • Your phone should now look like below.

Samsung Omnia i900 disassembly stage 12

  • Lift the keypad away.

Samsung Omnia i900 disassembly stage 13

  • Now remove the keypad membrane. It will be stuck down with double sided tape at each end.

Samsung Omnia i900 disassembly stage 14

  • Slide your credit card around the edge of the screen to release it. It'll be stuck down with double sided tape.

Samsung Omnia i900 disassembly stage 15

  • Your phone should now look like below. Now slide your credit card between the touch screen (digitizer) and LCD screen.

Samsung Omnia i900 disassembly stage 16

  • You should now have the LCD removed. Reverse the whole procedure for reassembly.

Samsung Omnia i900 disassembly stage 17

5252

No hay ninguna opinión por el momento.

4 otros productos de la misma categoría:

Nuevo registro de cuenta

¿Ya tienes una cuenta?
Entrar en vez O Restablecer la contraseña